Summer Garage Reset: 5 Easy Steps to Take Back Your Space
Share
Summer is the perfect time to reclaim your garage from the chaos of clutter, abandoned projects, and the mountain of “stuff” that somehow ends up there. Whether you're looking to store camping gear, get tools back in order, or just create some breathing room, a good garage reset can transform your space—and your sanity. And with Yosemite Shelving, getting organized is not only easier, it’s stronger, smarter, and totally customizable.
Here are five straightforward steps to help you reset your garage this summer.
Step 1: Pull Everything Out and Sort by Zone
Start by removing everything from your garage and sorting it into categories. Think in terms of zones: tools, lawn equipment, sports gear, seasonal decor, cleaning supplies, etc. This visual breakdown helps you assess what you actually own, what you use, and how much storage you’ll really need.
Pro tip: Don’t skip this step. It’s the foundation for an efficient and stress-free setup.
Step 2: Purge the Clutter Ruthlessly
Now that you’ve sorted, it’s time to edit. If it’s broken, unused, or hasn’t served a purpose in the last year, it’s probably time to let it go. Donate what’s still good, recycle what you can, and toss what isn’t salvageable.
This step not only clears space, but ensures you’re not building shelves to store clutter you don’t need.
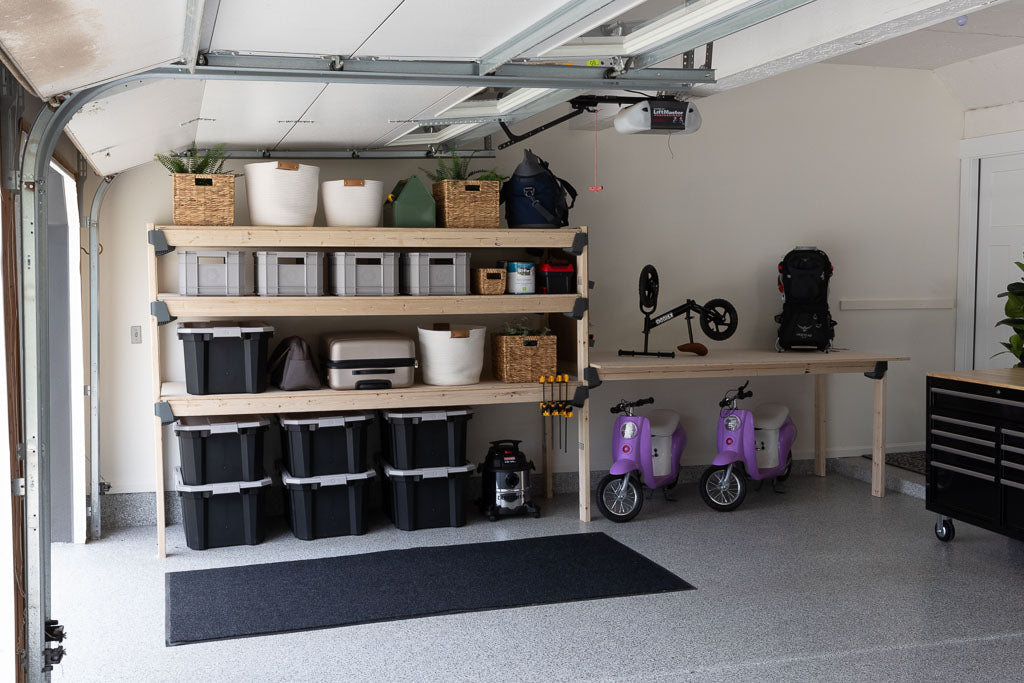
Step 3: Design a Modular Storage Plan Using Yosemite Shelving
Here’s where things get exciting. With a clearer picture of what you’re keeping, you can now plan how to store it effectively. Yosemite Shelving’s modular bracket system gives you the flexibility to build shelves at any height, depth, or width using standard 2x4s and plywood.
With the Brackets coming in three distinct colors, consider creating color-coded shelves to separate and identify your belongings. Whether you start with a 1-Shelf Pack for a small zone or a 4-Shelf Pack to tackle a full wall, Yosemite Shelving makes it easy to build now and expand later. You don’t need a full garage remodel to get started—you just need a few brackets and a vision.
Step 4: Build + Customize Your Shelving System
Yosemite Brackets are designed for quick and simple assembly. Thanks to inward-facing screws, you can install each bracket with an electric drill—even in tight corners. Use the supplied S-Hooks for a secure, full-perimeter lock.
This is DIY made easy—no unnecessary lifting, no metal frames to wrestle with, and no complicated instructions.
Step 5: Label, Load, and Maintain
Once your shelves are built, it’s time to load them up. Group similar items together and label bins or sections so everything has a place. Consider attaching index cards directly to the faces of the 2x4s. Keep frequently used items at eye level and reserve the higher shelves for seasonal or long-term storage.
Yosemite Shelving’s strength and adaptability mean your shelves are built to last and built to change with you as your needs evolve.